I want my SNMP Trap Receiver, Syslog Receiver, or Event Log sensors to keep the Down status for more than one scanning interval even if the cause does not persist. How can I achieve this?
FeedHow can I configure sensors using speed limits to keep the status for more than one interval?
Votes:
2
3 Replies
Votes:
1
This article applies as of PRTG 22
Using notification triggers to modify the status of a sensor
By default, PRTG will only change the sensor status for one single scanning interval. If the next scan results in a different status, the status will change accordingly.
There is a workaround that applies to these sensor types:
Steps to follow
- Open the channel settings of
- the New Records channel of the Event Log sensors, or
- the Errors channel of the Syslog Receiver, or SNMP Trap Receiver sensor.
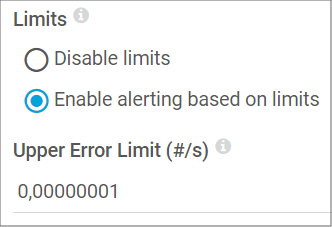
- Enter the value 0,00000001 into the Upper Error Limit (#/s) field. This makes sure that the sensor status will immediately change as soon as an alarm occurs and the limit is exceeded.
Note: This is the default setting for the Syslog and Trap Receiver sensors.
Click to enlarge. - This setting sets the sensor to the Down status as soon as a message that matches the sensor filter rules arrives.
- Click the Notification Triggers tab of the sensor and configure it as follows:

Click to enlarge.
This will immediately trigger a message and inform you about the issue.
Advanced steps
We would also like to provide you with information that will allow you to display the Down status in PRTG until it is resolved. Therefore, follow these steps to set up the required API calls as well as the settings in PRTG:
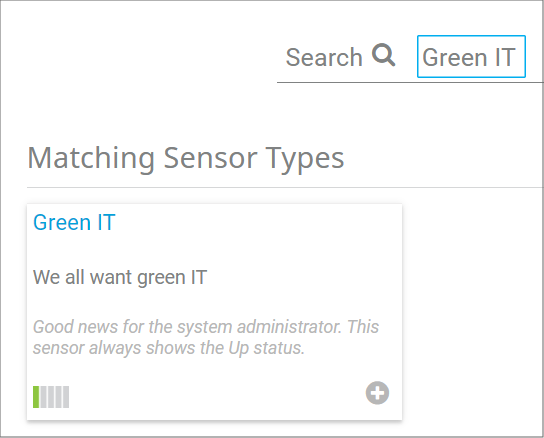
- Create a device with a Green IT sensor.

Click to enlarge. - Create a new notification template and select Execute HTTP Action. This is where the PRTG API comes into play:

Click to enlarge.
- Enter this code and fill in the data you need:
http(s)://YourServerIP/api/simulate.htm?id=objectid&action=1&username=YourUserAccount&Passhash=YourPasshash
- You can find the passhash under Setup | System Administration | User Accounts.
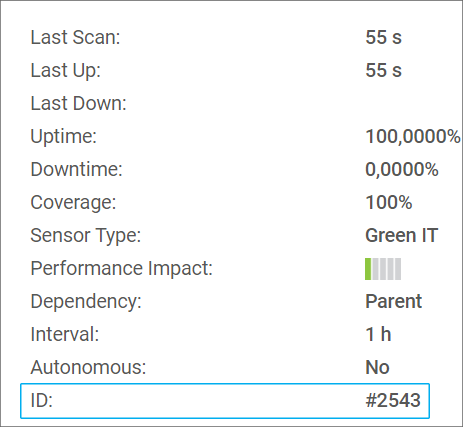
- You can find the correct object ID of the newly created Green IT sensor on its Overview tab:

Click to enlarge.
- You can clear the simulated error status by right-clicking the sensor's name and by clicking Resume.
Result
Following this guide will allow you to quickly change the status of one sensor, based on a speed trigger or limit assigned to a particular sensor based on #/s results and to get a persistent overview of previous events.
More
Created on Feb 14, 2017 9:28:41 PM by
Felix Saure [Paessler Support]
Last change on Jan 4, 2023 2:49:09 PM by
Brandy Greger [Paessler Support]
Votes:
0
totally lost in this manual. green IT sensor created for the new device, or can be on existing device? New notification means in setup under account settings? Where is objectid in 'just replace the objectid by the ID value shown on the Overview tab of your Green IT sensor.'? I can see ID in green IT sensor, but where to assign it??? Notification does not contain field named 'objectid'.
Votes:
0
Hello Igoris,
The Green IT sensor can be added to the same device. If you then add a new notification and choose Execute HTTP Action, you can enter the ID into this webhook:
http(s):YourServerIP/api/simulate.htm?id=objectid&action=1&username=YourUserAccount&Passhash=YourPasshash
This can look like this if the ID of the sensor is 9000: http(s):YourServerIP/api/simulate.htm?id=9000&action=1&username=YourUserAccount&Passhash=YourPasshash
Does this help you creating this workaround?
Kind regards,
Felix Saure, Tech Support Team
Add comment