This article applies as of PRTG 22
Setting permissions for the AWS API key
There are several sensors with which you can monitor single Amazon web services or your Amazon Web Services (AWS) account:
All these sensors need sufficient rights to query data from the AWS API. Follow these steps to give the sensors listed above the required permissions:
Step 1: Create a new policy
- Log in to your AWS account and go to the Identity and Access Management (IAM) console.
- Click the Policies tab and create a new policy.
- In step 1 of the Create policy dialog, select the JSON tab and enter the following definition:
{
    "Version": "2012-10-17",
    "Statement": [
        {
            "Sid": "Stmt1338559359622",
            "Action": [
                "ec2:DescribeInstances",
                "ec2:DescribeVolumes",
                "ec2:DescribeRegions"
            ],
            "Effect": "Allow",
            "Resource": "*"
        },
        {
            "Sid": "Stmt1338559372809",
            "Action": [
                "cloudwatch:GetMetricStatistics",
                "cloudwatch:ListMetrics",
                "cloudwatch:DescribeAlarms"
            ],
            "Effect": "Allow",
            "Resource": "*"
        },
        {
            "Sid": "Stmt1338559399560",
            "Action": [
                "elasticache:DescribeCacheClusters"
            ],
            "Effect": "Allow",
            "Resource": "*"
        },
        {
            "Sid": "Stmt1338559439473",
            "Action": [
                "elasticloadbalancing:DescribeLoadBalancers"
            ],
            "Effect": "Allow",
            "Resource": "*"
        },
        {
            "Sid": "Stmt1338559468079",
            "Action": [
                "rds:DescribeDBInstances"
            ],
            "Effect": "Allow",
            "Resource": "*"
        },
        {
            "Sid": "Stmt1338559518608",
            "Action": [
                "sns:ListPlatformApplications",
                "sns:ListTopics"
            ],
            "Effect": "Allow",
            "Resource": "*"
        },
        {
            "Sid": "Stmt1338559548992",
            "Action": [
                "sqs:ListQueues"
            ],
            "Effect": "Allow",
            "Resource": "*"
        },
        {
            "Sid": "Stmt1450719990448",
            "Action": [
                "autoscaling:DescribeAutoScalingGroups"
            ],
            "Effect": "Allow",
            "Resource": "*"
        },
        {
            "Sid": "Stmt1450720132953",
            "Action": [
                "lambda:ListFunctions"
            ],
            "Effect": "Allow",
            "Resource": "*"
        },
        {
            "Sid": "CostExplorerRead",
            "Effect": "Allow",
            "Action": [
                "ce:GetCostAndUsage",
                "ce:GetCostForecast",
                "ce:GetDimensionValues",
                "ce:GetCostAndUsageWithResources",
                "ce:GetUsageForecast"
            ],
            "Resource": "*"
        }
    ]
}
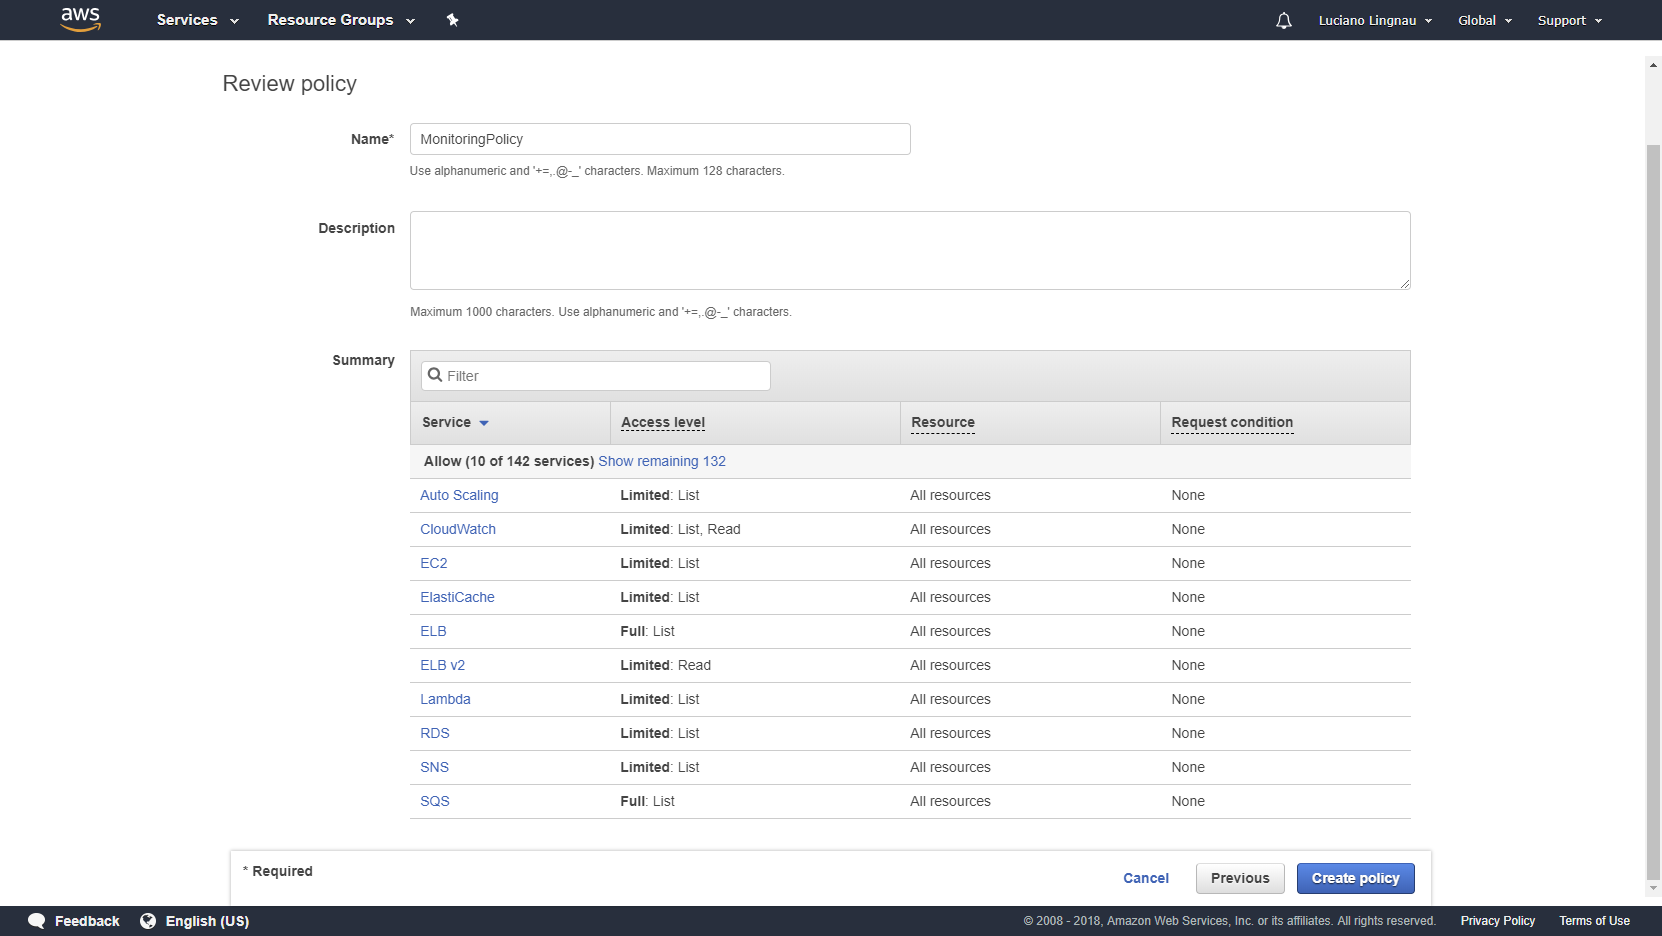
4. In step 2 of the Create policy dialog, give the new policy a meaningful name, for example, MonitoringPolicy.

Click to enlarge.
5. Click Create policy to save the new policy.
Step 2: Create a new group and attach the new policy
- Click the Groups tab.
- Create a new group and give it a meaningful name, for example, MonitoringGroup.
- On the Attach Policy page, map the new policy to the new group by enabling the check box next to the Policy Name.
- Click Next Step to review your settings.
Step 3: Add a new user to the new group
- Click the Users tab and create a new user.
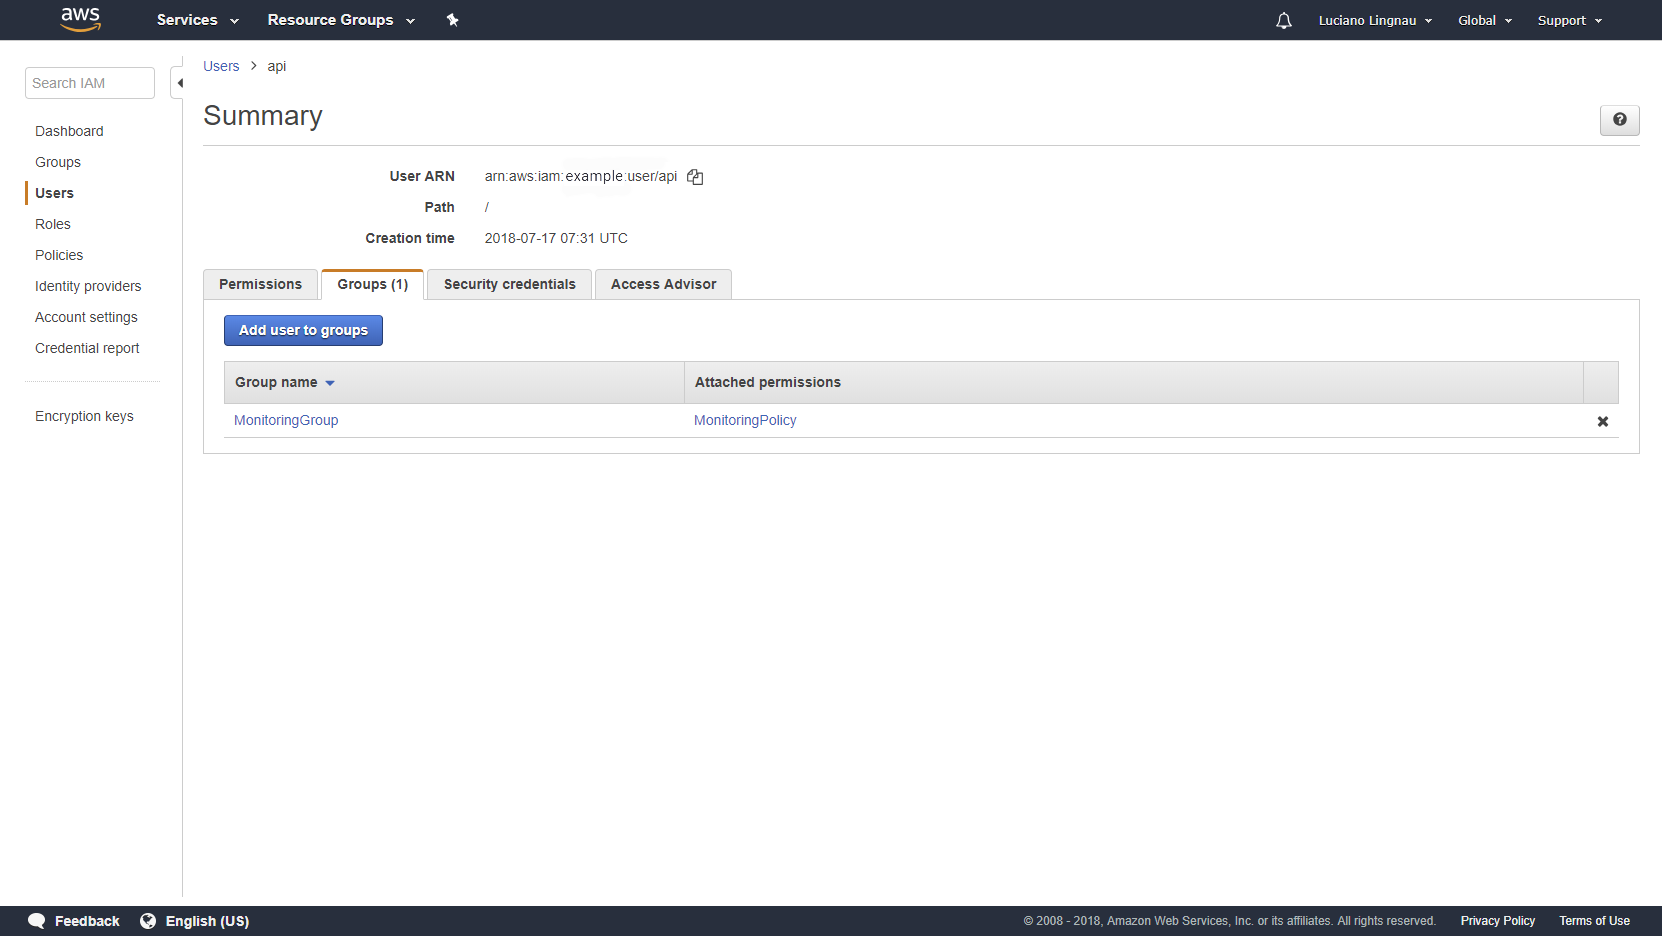
- Click Add user to groups to add the new user to the new MonitoringGroup.

Click to enlarge.
- Select Programmic Access to give the new user the required permissions for the API key.
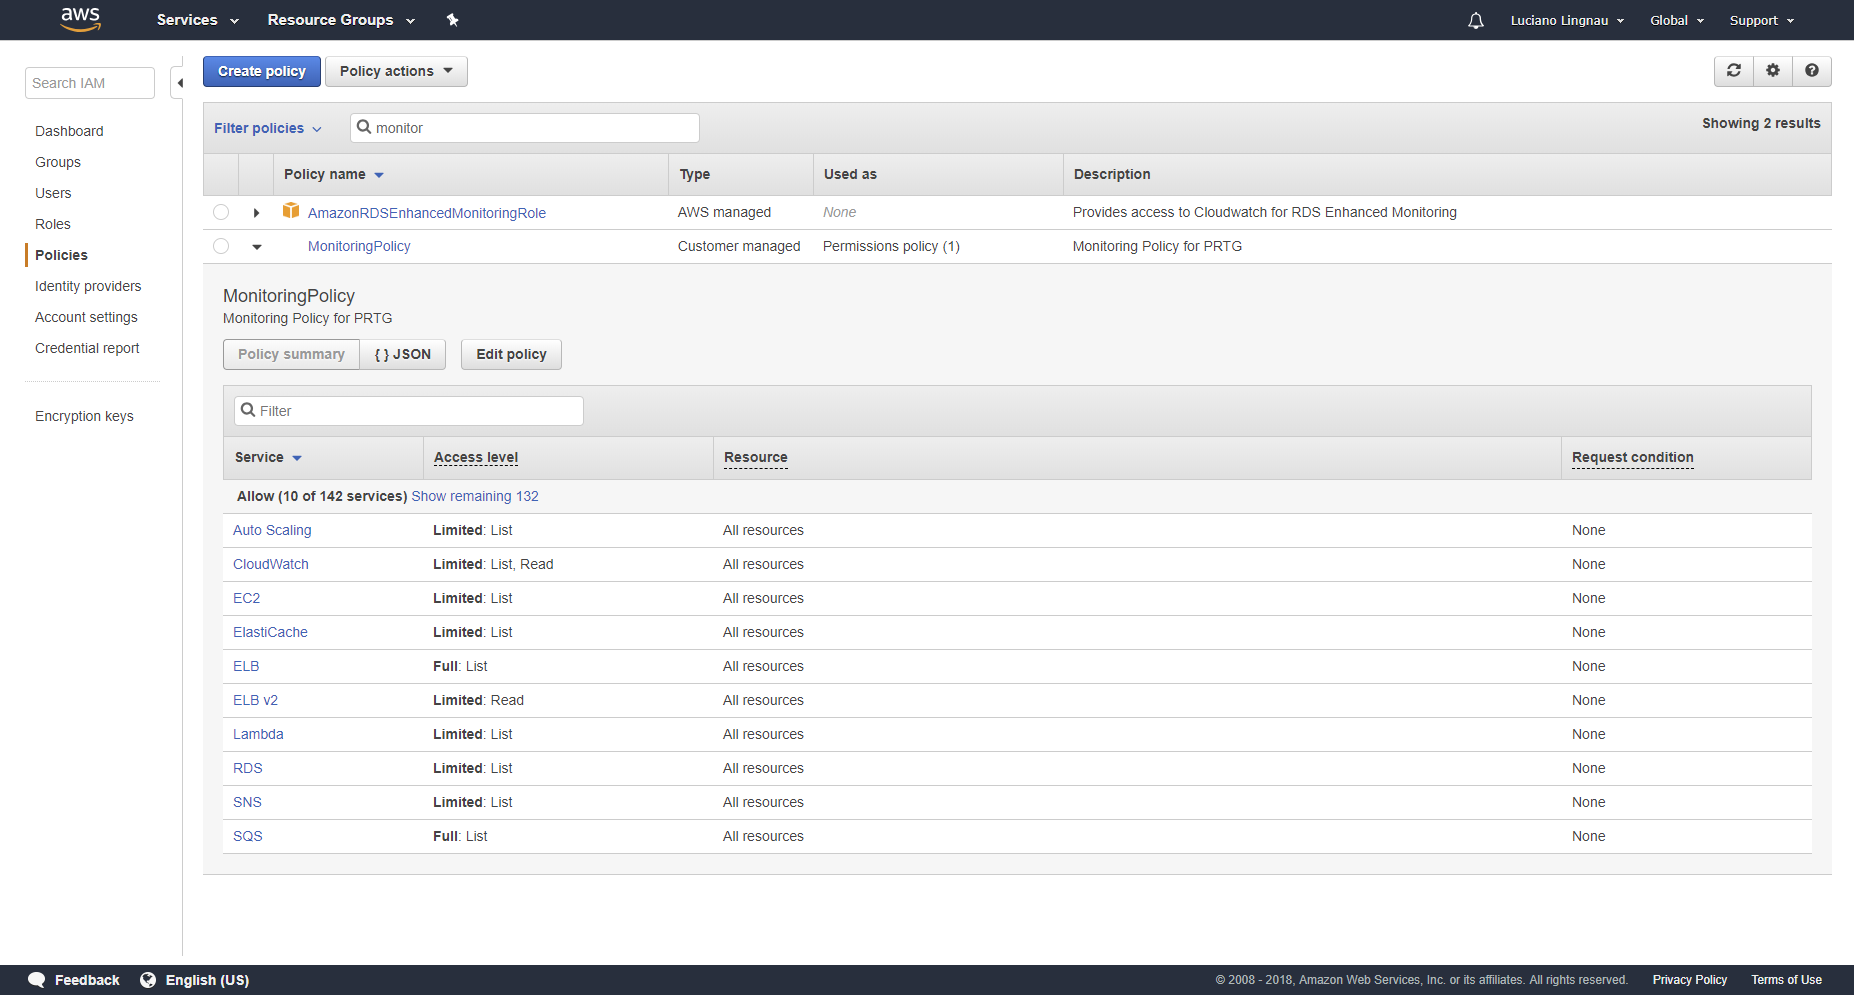
- To review and confirm the permissions you set, click the Policies tab and select Policy summary.

Click to enlarge.
Step 4: Generate the access key and the secret key
- Click the Users tab and select the user that you created in Step 3: Add a new user to the new group.
- On the Security Credentials tab, select Create Access Key.
- Download and store the .csv file that contains the Access Key and the Secret Key.
Note: The Access Key and the Secret Key are only displayed in the IAM once.
- Enter these AWS credentials on the Settings tab of the AWS Cost sensor’s parent device or group in the Credentials for AWS section.
More


Add comment